Follow Me On Social Media!

Homemade Sponge Candy: Irresistibly Light and Crunchy Delight
Introduction to Homemade Sponge Candy
Embarking on a journey into homemade sponge candy brings back sweet memories of childhood, where candy wasn’t just a treat but an adventure. The idea of creating light, airy, and melt-in-your-mouth candy might seem daunting, but let me assure you—it’s a delightful experience that combines simple ingredients and a bit of kitchen magic. As I recall my grandma’s kitchen during the holidays, I can almost smell the sweet scent of freshly made sponge candy wafting through the air, an irresistible calling for everyone near.
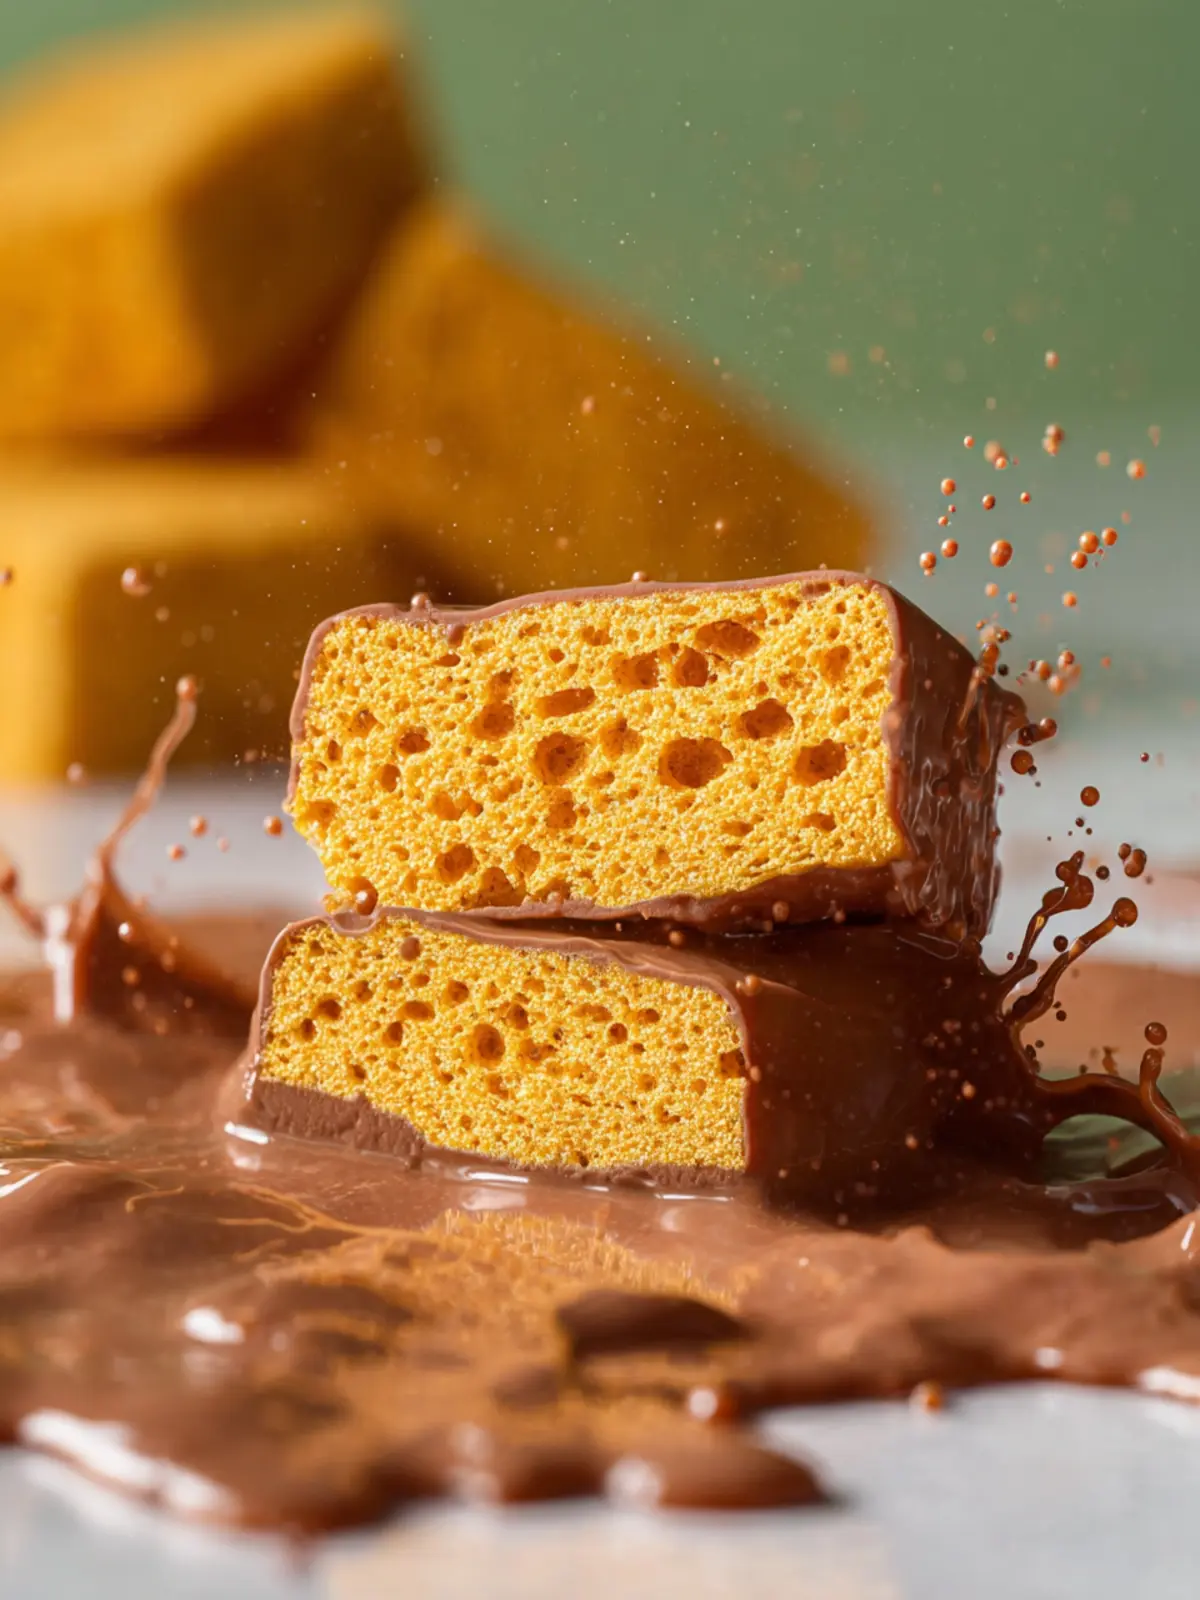
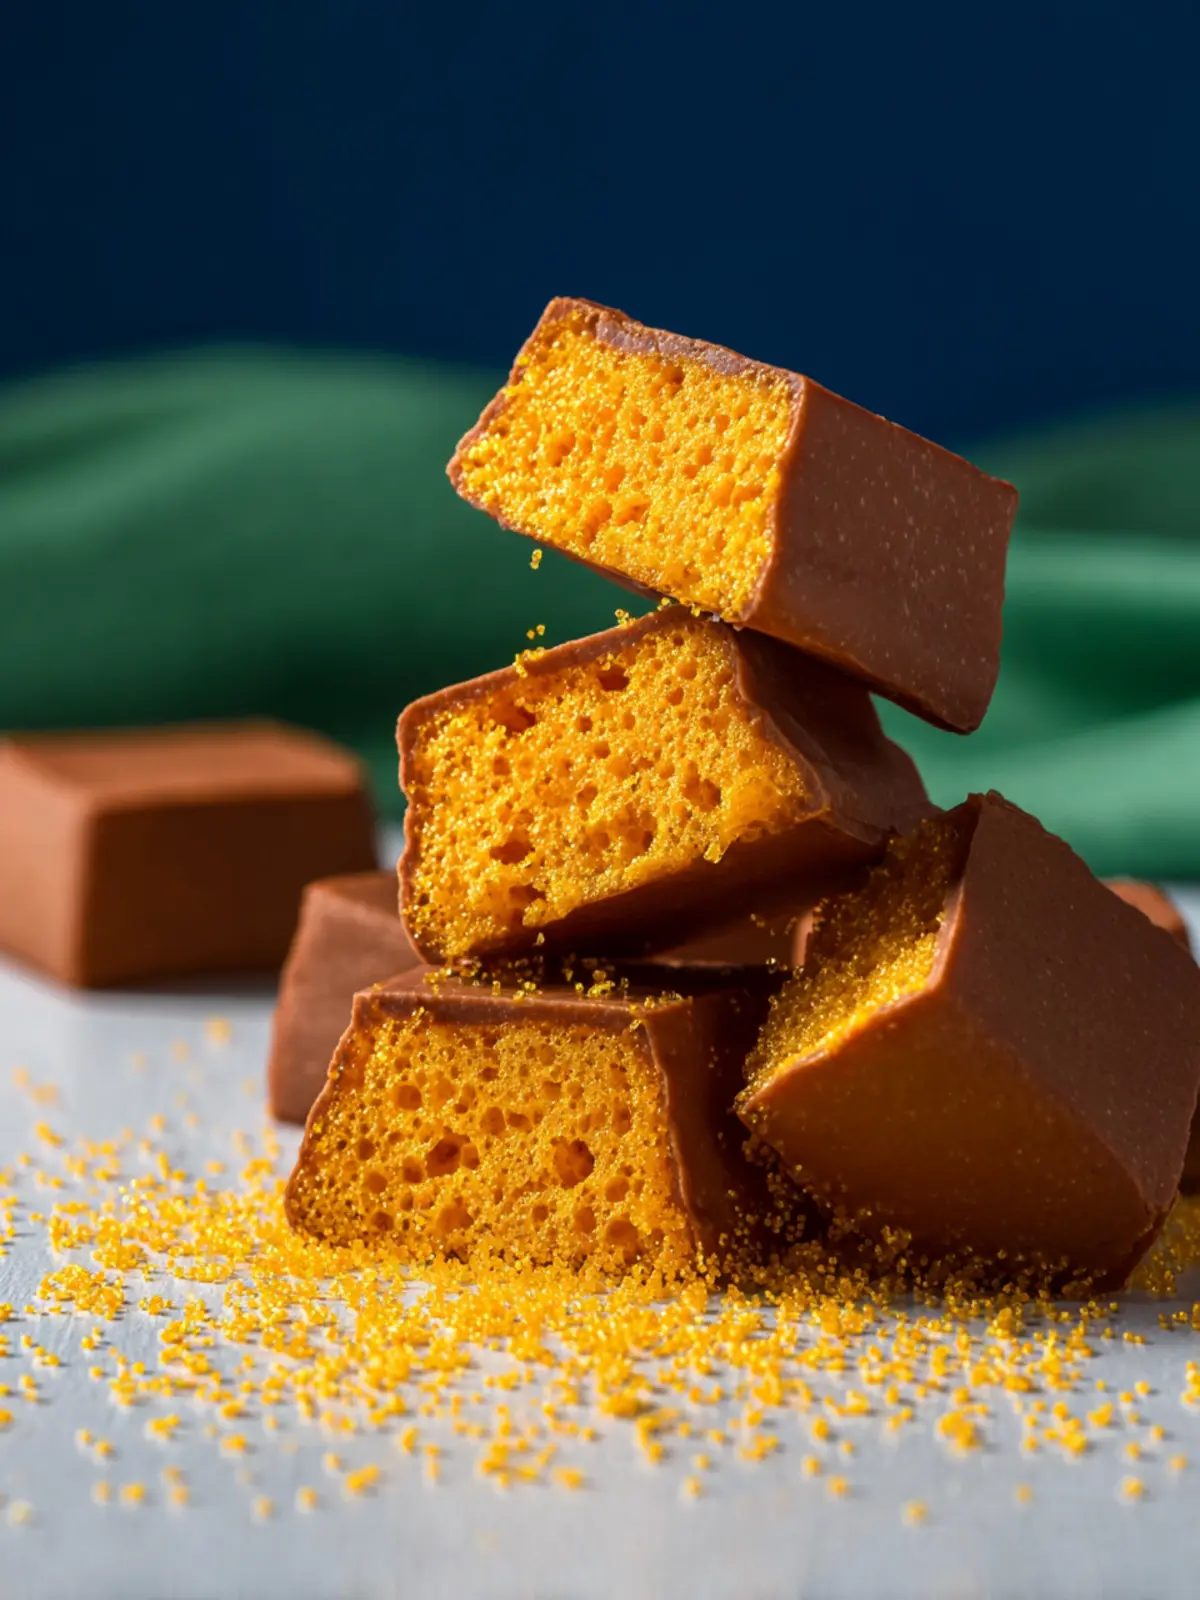
The texture is what makes homemade sponge candy so unique; it’s like capturing clouds in candy form. This confection, also known as cinder toffee or fairy food in different regions, is made by combining sugar, corn syrup, and baking soda. When these ingredients come together, they create a chemical reaction, resulting in those characteristic bubbles and texture.
Imagine the first bite, where the hard exterior gives way to a crunchy, light interior that almost seems to dissolve on your tongue. The experience is enhanced further if you choose to coat it in chocolate. The crunch of the sponge candy against the smooth chocolate creates a symphony of flavors and textures.
Becoming a candy creator is not just about following a recipe; it’s about diving into a world where patience and precision produce something extraordinary. Making homemade sponge candy invites you to experiment and personalize it according to your taste—whether you opt for dark chocolate, sprinkles, or a light dusting of powdered sugar.
As you gather your ingredients and prepare your workspace, think of it as a mini science project paired with nostalgia. The joy of biting into your first piece of homemade candy will make every moment spent in the kitchen worthwhile. So why not stir up some holiday cheer—or simply indulge in a sweet treat any day of the year—by experimenting with this delightful recipe? Let’s explore how you can create your own batch of homemade sponge candy from scratch!

Key Ingredients for Homemade Sponge Candy
Making homemade sponge candy can be a delightful adventure, full of sweet nostalgia and enticing aromas. This unique treat not only brings back memories of childhood but also invites creativity into the kitchen. To get started, let’s dive into the key ingredients that will help you create that light, airy, and irresistible candy.
-
Sugar: Granulated sugar is your main ingredient, acting as both the sweetener and the foundation for your sponge candy’s structure. It helps create that essential airy texture when fluffy bubbles form during cooking.
-
Corn Syrup: This ingredient plays a crucial role in preventing the sugar from crystallizing. Using corn syrup ensures your homemade sponge candy remains smooth and enjoyable to bite into.
-
Baking Soda: When added to the hot sugar mixture, baking soda reacts to create carbon dioxide bubbles, giving the candy its signature sponge-like texture. Remember to add it just when you’re ready to avoid losing its effectiveness.
-
Dark Chocolate: To finish off your creation, a layer of dark chocolate adds a rich flavor and contrasting texture to the crunchy candy.
With these essential ingredients on hand, you’re set to indulge in making your very own homemade sponge candy.
Why You’ll Love This Homemade Sponge Candy
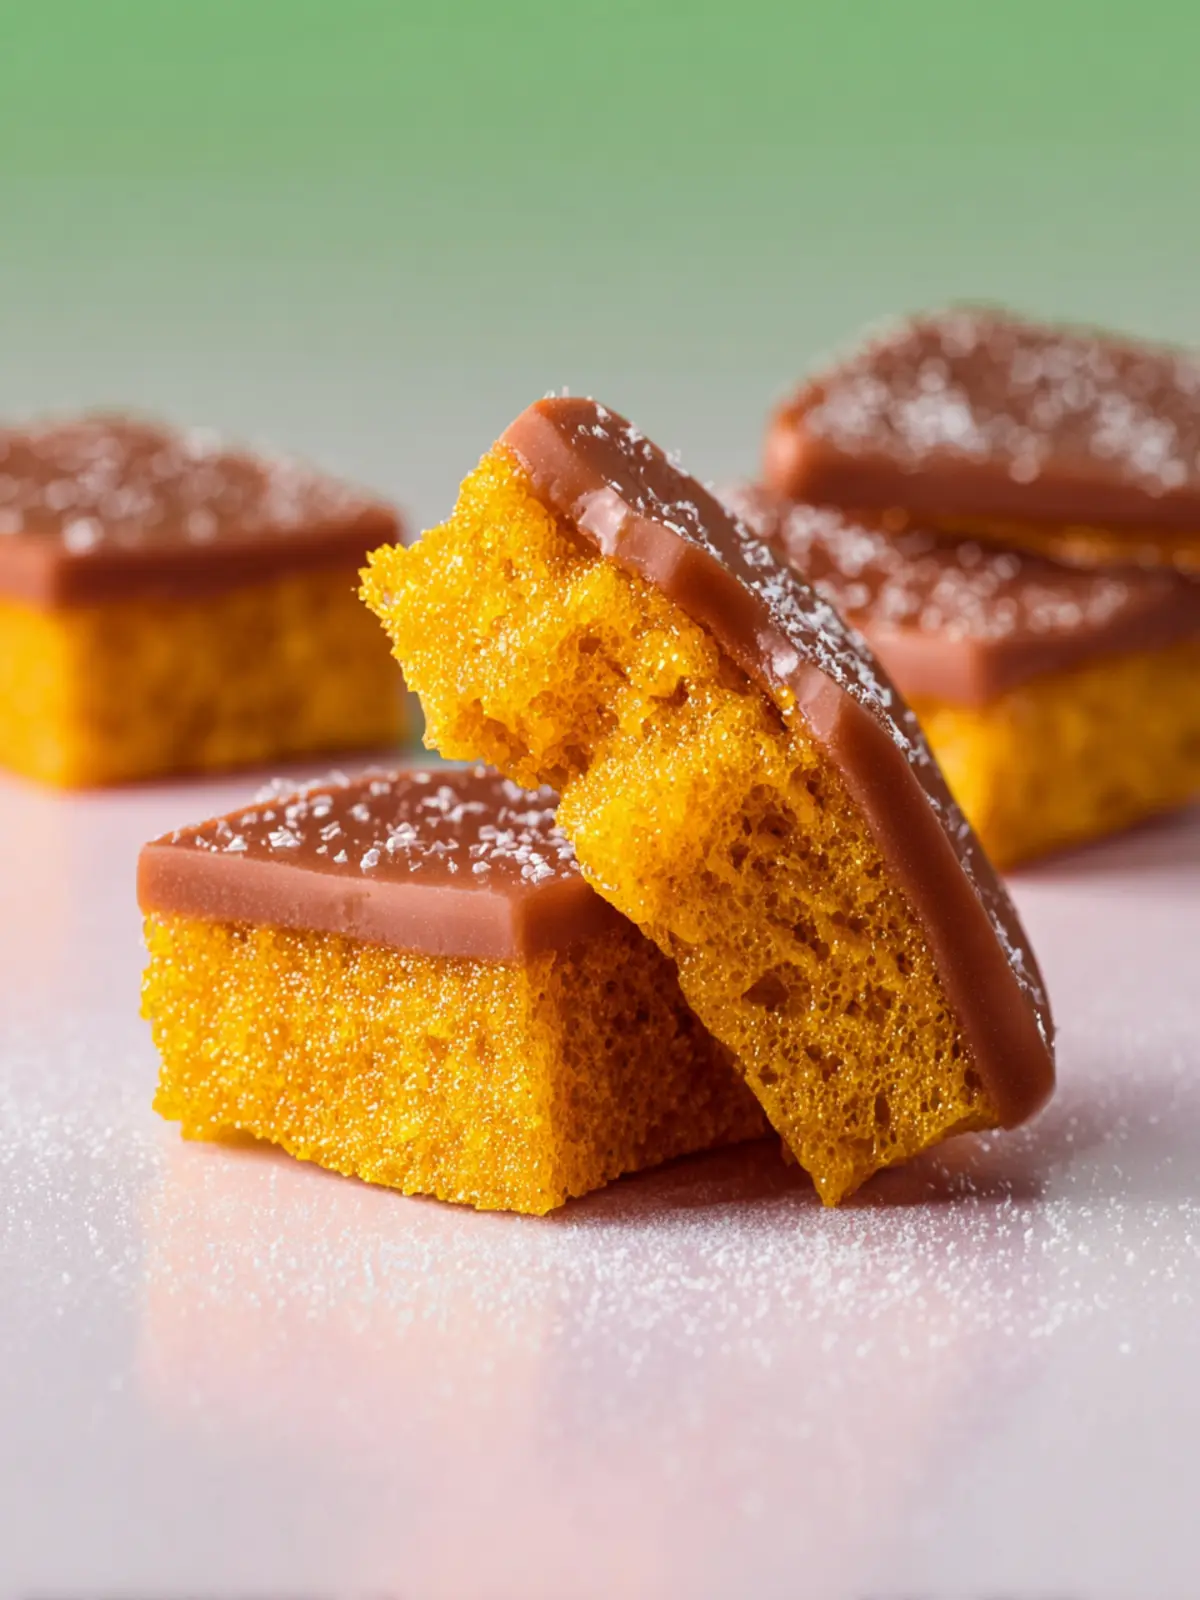
Imagine the first bite of homemade sponge candy, where an irresistible crunch gives way to a light, airy texture that melts in your mouth. This delightful treat is not just a nostalgic nod to childhood candy stores; it’s a deliciously innovative way to indulge your sweet tooth right at home. Each batch carries with it the joy of creation, bringing a sense of pride that only comes from making something truly special.
The Experience of Making It
What makes homemade sponge candy so appealing is its straightforward yet satisfying recipe. From measuring ingredients to the exhilarating moment of watching the mixture bubble and foam, every step is an engaging culinary adventure. You’ll feel like a candy artisan crafting your very own confectionery masterpiece.
Perfectly Crunchy with a Sweet Surprise
The satisfying crunch of the homemade sponge candy shell, paired with a light, airy center, is absolutely irresistible. When you bite into it, you’ll experience a delightful contrast that brings a smile to your face. Topped with a luscious layer of chocolate, it’s an experience that elevates your snacking game to new heights.
A Creative Playground for Your Taste Buds
With homemade sponge candy, the possibilities are endless. You can customize the flavors, experiment with different coatings, or even add toppings like nuts or sprinkles. It’s not just candy; it’s an opportunity to unleash your culinary creativity, making this snack perfect for sharing with friends or for impressing at your next gathering.
In short, once you try your hand at making homemade sponge candy, you may just find yourself hooked for life.
Tips for Making Perfect Homemade Sponge Candy
Creating homemade sponge candy is a delightful adventure into the world of confectionery, where sugar and excitement collide! With its light, airy texture and crisp bite, getting your sponge candy just right can feel a bit daunting but trust me—there are simple tips to make it successful.
Use a Candy Thermometer
Precision is key! Cooking your sugar syrup to exactly 300°F (the hard crack stage) ensures that your candy will have the perfect airy texture. A candy thermometer can be your best friend during this process, so don’t skip it.
Prepare Your Baking Sheet
Before diving into candy-making, make sure your baking sheet is greased well or lined with parchment paper. This helps prevent sticking and ensures an easy release once your sponge candy has cooled.
Don’t Rush the Mixing
When adding baking soda to your syrup, mix gently but quickly. This stage creates the bubbles that give your homemade sponge candy its signature airy texture. A well-mixed batter will yield a light, crispy treat.
Patience is a Virtue
Once your sponge candy has set, resist the urge to break it apart immediately. Allowing it to cool completely will enhance its crunchiness and make for easier handling when cutting into pieces.
Experiment with Flavors
Feel free to customize your homemade sponge candy by incorporating different extracts, like vanilla or almond. A small splash can elevate the flavor profile, making your candy even more delicious.
By keeping these tips in mind, you’ll be well on your way to delightful homemade sponge candy that will impress friends and family alike!
Time Details for Homemade Sponge Candy
When diving into the delightful world of homemade sponge candy, timing is everything. The right balance of patience and precision makes all the difference in achieving that perfect, airy texture.
Preparation time
Getting everything ready takes about 10 minutes. This includes gathering your ingredients and setting up your workspace. A little organization upfront will set you up for sweet success.
Cooking time
The cooking process typically lasts around 15-20 minutes. You’ll be melting sugar and corn syrup, followed by a quick boil. Keep your eyes on the pot to ensure it doesn’t burn!
Total time
From start to finish, allocate about 30-40 minutes for your homemade sponge candy. Once you let it cool and set, you’ll be rewarded with a delightful treat that’s well worth the wait!
Nutritional Information for Homemade Sponge Candy
If you’ve ever craved something sugary yet light and airy, homemade sponge candy is the perfect treat to satisfy that sweet tooth. This delicious classic offers a delightful crunch with a unique texture thanks to its playful bubbles. But how does it stack up nutritionally? Let’s break it down.
Calories
In a typical serving of homemade sponge candy, you can expect around 130 calories. Though it’s indulgent, a small piece goes a long way in satisfying dessert cravings.
Sugar
When it comes to sweetness, sponge candy contains approximately 28 grams of sugar per serving. While it’s certainly a sugary delight, enjoy it in moderation to keep your indulgence balanced.
Fat
One of the great things about homemade sponge candy is that it’s quite low in fat, clocking in at just about 0.2 grams per serving. This makes it a guilt-free option for your dessert table!
So, while you relish the airy, sugary sweetness of your homemade candy, you can also appreciate the lighter side of this classic treat.
FAQs about Homemade Sponge Candy
Creating homemade sponge candy is a wonderful culinary adventure, and it’s natural to have questions along the way. Here are some common inquiries that can help clarify your candy-making experience.
What is sponge candy?
Homemade sponge candy is light, airy, and unlike anything you’ve tasted before. It’s a delightful treat that combines sugar, corn syrup, and baking soda to create a light and crunchy texture. This candy is often dipped in chocolate for a deliciously sweet contrast. People frequently associate it with classic candy shops, but making it at home allows you to customize flavors and dips, making it a fun project for both seasoned bakers and beginners alike.
How do I store sponge candy?
To keep your homemade sponge candy fresh and crispy, store it in an airtight container at room temperature. Avoid placing it in the fridge, as moisture can ruin the delicate crunch. If you have any chocolate coating, be sure to separate layers with parchment paper to prevent sticking. Enjoy your treats within a week for the best flavor and texture!
Can I use different types of chocolate?
Absolutely! While dark chocolate adds a rich contrast to the sweetness of the candy, milk chocolate offers a creamier experience. You might even consider white chocolate for a completely different flavor profile. Feel free to experiment with various chocolates—just ensure they’re good quality for the best results in your homemade sponge candy! This versatility invites creativity and allows you to cater to different taste preferences.
Conclusion on Homemade Sponge Candy
Creating homemade sponge candy is not just about satisfying a sweet tooth; it’s about crafting a delightful treat that can evoke treasured memories and spark joy in celebrations. As you master this unique recipe, you’ll find that the crunchy exterior and airy texture make every bite an experience worth savoring. Whether you enjoy your sponge candy as a personal indulgence or share it with friends at a gathering, each piece reflects the heart you poured into making it.
In this journey of candy-making, don’t hesitate to experiment with flavors or coatings. The world of homemade sponge candy can be as varied and exciting as your imagination allows. Happy candy-making!
Print
Chocolate Honeycomb Candy
- Total Time: 1 hour 30 minutes
- Yield: 16 pieces 1x
- Diet: Vegetarian
Description
A delicious sweet treat made with sugar, syrup, and chocolate coating.
Ingredients
Scale
- 1 cup Sugar
- 3 tablespoons Water
- 4 tablespoons Corn Syrup
- 1 tablespoon Honey
- 1 ½ teaspoons Baking Soda
- 1 cup Milk Chocolate
- 1 tablespoon Coconut Oil (optional for smoother chocolate)
Instructions
- Line an 8×8 baking dish with parchment and set aside.
- In a medium sauce pot combine the sugar, water, corn syrup and honey. Stir together to combine.
- Heat over medium heat until the mixture reaches 300 degrees, hard crack stage. Do Not Stir the mixture but swirl gently if needed.
- Once the mixture reaches 300 remove from the heat and stir in the baking soda.
- Quickly pour the mixture as evenly as possible into the prepared baking dish.
- Allow to set for at least 1 hour before cutting into pieces.
- Melt the chocolate and coconut oil in the microwave in 30 second intervals until 90 percent melted, stirring to finish melting.
- Using a fork, dip each piece of candy into the chocolate coating the entire piece, allowing the extra chocolate to drip off.
- Place on a piece of parchment or wax paper to set up.
Notes
- Ensure all ingredients are measured precisely for best results.
- Be cautious with the hot sugar mixture to prevent burns.
- For a more rigid candy, let the mixture cool for longer before cutting.
- Prep Time: 15 minutes
- Cook Time: 15 minutes
- Category: Dessert
- Method: Stovetop
- Cuisine: American
Nutrition
- Serving Size: 1 piece
- Calories: 90
- Sugar: 16g
- Sodium: 10mg
- Fat: 4g
- Saturated Fat: 2g
- Unsaturated Fat: 1g
- Trans Fat: 0g
- Carbohydrates: 14g
- Fiber: 0g
- Protein: 1g
- Cholesterol: 0mg